Tuesday, October 18, 2011

Kitchen Reveal....

Here it is the reveal, lets take a look back shall we.....

Standing in the family room looking into the kitchen, notice the angled sink cabinet, dark walls and the big white fridge.
Another view, the angled counter by the stove, and the 'table height' counter drop....


Yet another angle showing the the eating area, the two different flooring's from the family room to the kitchen, and that awful light above the table.


and now for the afters.....
Standing in the family room facing the kitchen, so we removed the angled sink cabinet and straighten it out.


With this view you can see the 'built' in look worked. Now the fridge doesn't look like it's floating in the room. (side note... we still have to install the surround for the the built in microwave)


By straightening out the counter I now have three full feet of work space with no sink interruption.


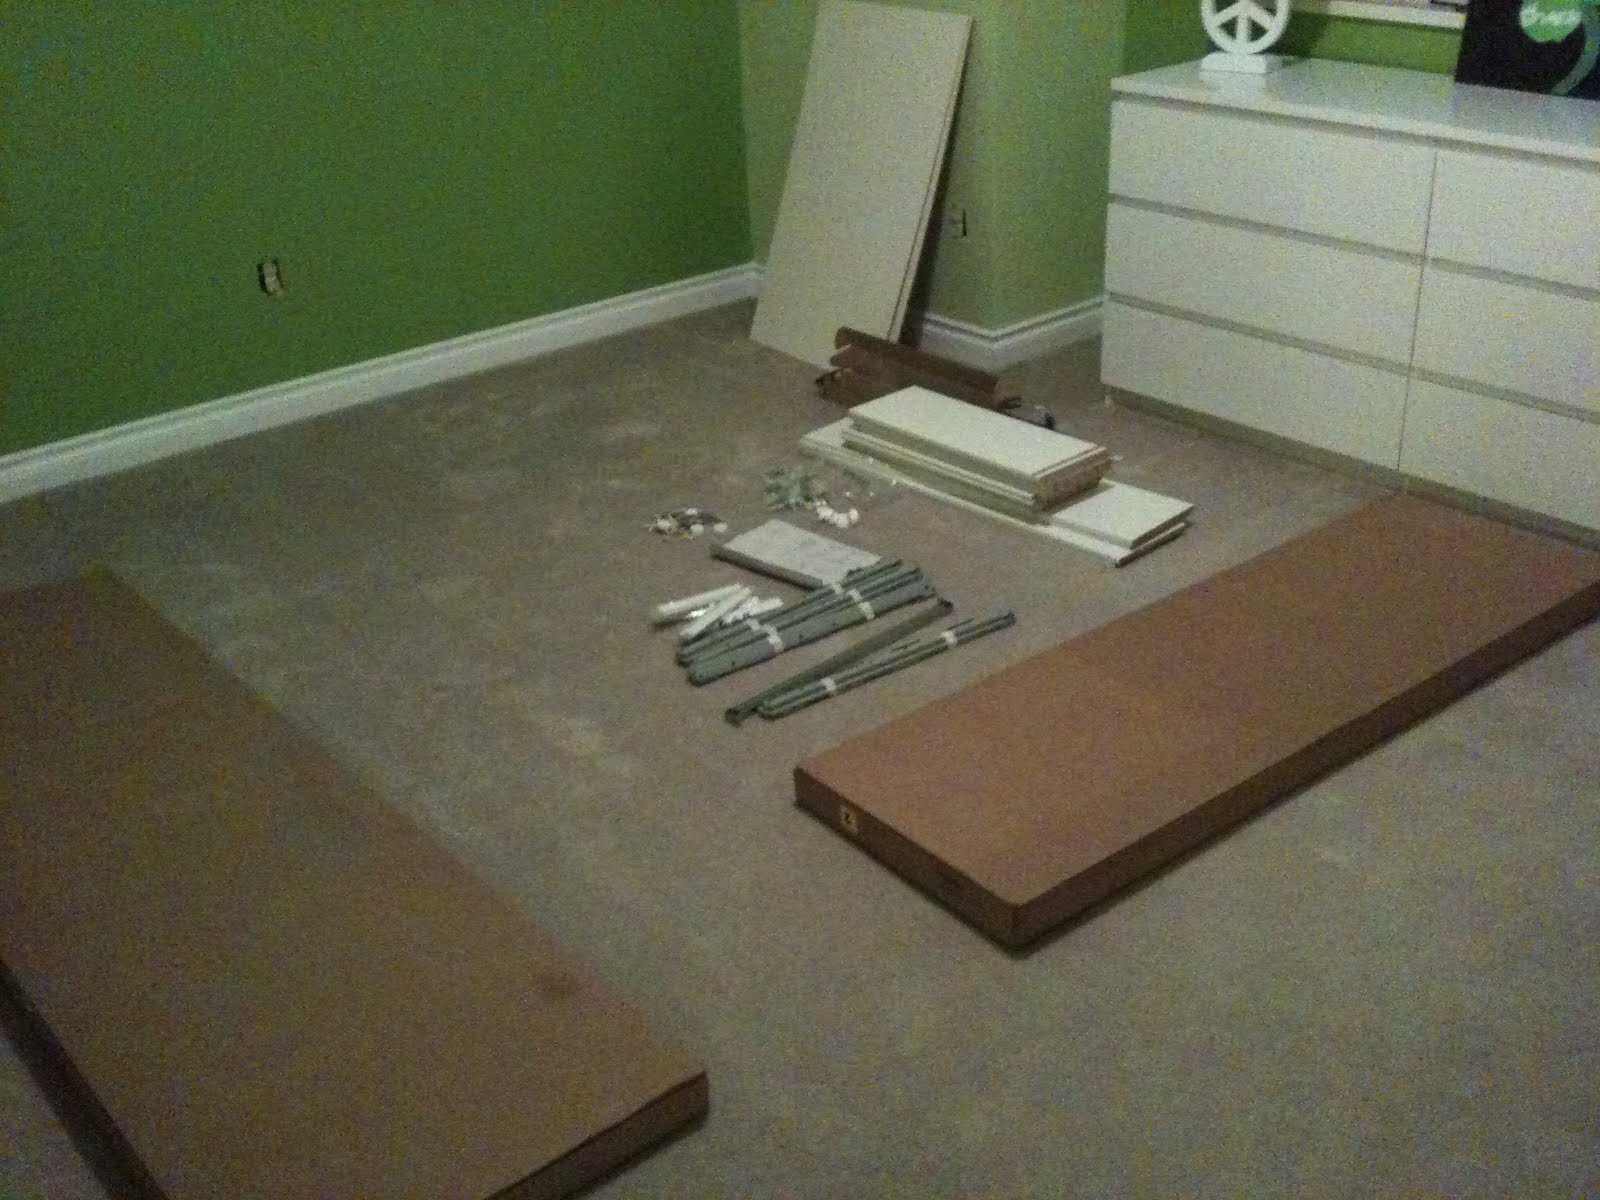
We added three counter height stools along the edge from Ikea (note: three stools took longer than the book shelves to put together) But it's a nice added seating area. I still want to figure out some task lighting above the "island" but that will come I am sure.


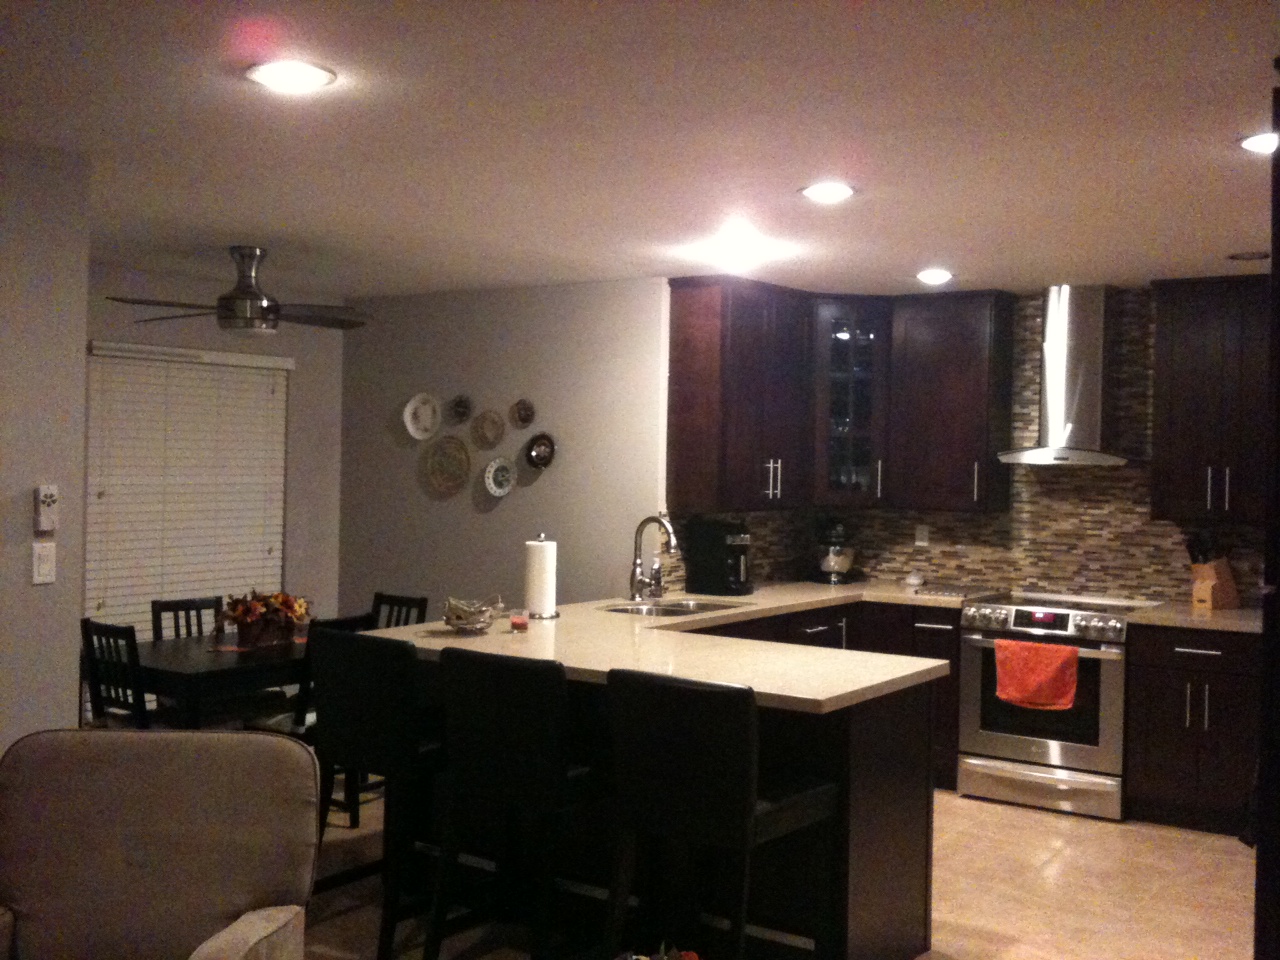
For now that's all we got.... we finished the downstairs powder room but haven't been able to figure out how to get a decent picture.

More before and afters....

This is the dining room before, not very inspiring.
With a change of blinds, and light bulbs it makes the room warmer.


Foyer before, again not much was changed and when i say not much was changed I mean we only changed the tile. The husband jack hammered all the old tile up and then the tiler replaced it with new tile.


We went from a 12x12 shinny white to a 18x18 dull mocha. I love my foyer now. It feels warmer and not so stark.


Monday, October 17, 2011

Daughters bedroom!!!

Here's what the daughter's room looked like before we started....
She picked some paint colours......we painted for two nights and then we added crown moulding and new baseboards.

Now came the part that truly enjoy.... Furniture assembly!!! from Ikea!!! Woohoo can you hear the sarcasm......

Tool me and my bestie KK 2 full nights to get all the furniture together. It was a queen size bed, full 8 drawer dresser, a wardrobe, a headboard and a storage mirror. Sooo many parts!!!

Once it was all together it looked fantastic, hard to believe she's only 12, the room looks so grown up!!

There are a few things that still need to be done, we need to change the light out to a chandelier light that are daughter found and liked.

Now if the daughter could just keep the room cleaned.

Counters....

So we had the counter top guys come in and install, I am not sure what I was thinking when I decided to go with a company that does not have english as a first language. I should have known it was going to be one of those days when they off loaded the granite from the truck and the sink hole was incorrect. I had my cabinet guy send the sink over to the granite guy so he would have the actual sink. The granite guy must have mixed them up cause I had originally wanted two sinks the same size, what I ended up with was the right sink slightly smaller than the left.
They brought in the granite in three pieces, I noticed something amiss when they placed the larger of the pieces. I had asked for a 10 inch over hang on the 'island' side of the counter so we could put bar stools there, my guess is he miss understood me and put a 10 inch over hang all the way around on the backside of the sink. Which in turn cut into the space around the table in the eating area. So back the granite went to the shop so he could make the correction.
After all of that he came back to install it correctly. I took a free sink instead of having him re cut the sink hole. Now for the backsplash.....

Kitchen, before, during and after......

So this is what we started with...... It's not bad but it's not great either.
The plan was easy....Or so we thought, We wanted to take out the old cabinets and flooring. Move the dishwasher, sink and existing hood fan. Sounded so easy, soooo not the case,

We started by ripping out the cabinets and tearing up the floors. Making the family room and kitchen one large room. Upon removing of the cabinets we found unused plugs (hidden behind the upper cabinet) we found NO shut off values for the sink or dishwasher and the hood fan was venting into the garage. After we made all the nessariy corrections to the above we were able to get the tiler in to start his job....

The tiler came in and laid a simple brick pattern starting in the kitchen/family room and leading out to the front doors. Just having that completed made the room feel large.

Next came cabinet install, because the fridge was not counter/cabinet depth the husband had to build out the wall to the depth of the fridge so when all said and done it would have the 'built' in look.
Cabinets are installed, husband has to move the exhaust for the hood fan, counter tops to be installed. that's next up......

Few before and afters

Its been awhile, but here are a few before and afters....
This is the eating area in the kitchen after the floor removal and before the full kitchen removal


This is the after, new color, new light with fan (made a huge difference is air circulation in the room. Also added a few decorative touches (plate wall) Thanks KK!!!


Here is the family room that is right off the kitchen it did have the same hardwood floors and the living and dinning room but it felt chopped up next to the kitchen so we laid one flooring option through out.

and here's the after, this is probably the most dramatic change (next to the kitchen) we painted the fireplace mantel and refaced the surround. By adding Ikea 'Billy" bookshelves around the fireplace it gives it a 'built in' look. We hung the TV above the mantel and have been in love with the room since.